
7 Tips For Instagrammable Pictures
*All pictures were taken with an iPhone*
Have you ever scrolled through your camera roll and reminisce at old footage and smile at those pleasant memories? Or even came across vintage photos on the internet, like women dressed in the most fly gear in the ’90s, complete with door knocker earrings and finger waves. We wouldn’t be able to relive those moments if they weren’t captured. Capturing moments is essential to me whether I am traveling or at home. While I am not a professional (just kidding, I am), I do get many inquiries on how I edit my photos. In this post, I will share a few tips that I think can be useful for taking your pics to the next level.
The Vision
The initial step in shooting all starts with a vision. Think about what you'll be highlighting. Is it your outfit, place, landscape, or even an animal? Should it be a wide-angle shot or a closeup? The best places to find vision inspo are Instagram, Pinterest, and Google. A vision will avoid wasting time, confusion, and lack of direction. Always be imaginative and think about what can be done differently instead of a copy and paste situation.
Since this hotel in Berlin was pre-booked, I knew the bathtub would be the focal point. I got some cheap champagne from the deli across the street and strawberries from the hotel kitchen. The newspaper was the finishing touch to show my location, also provided by the hotel.

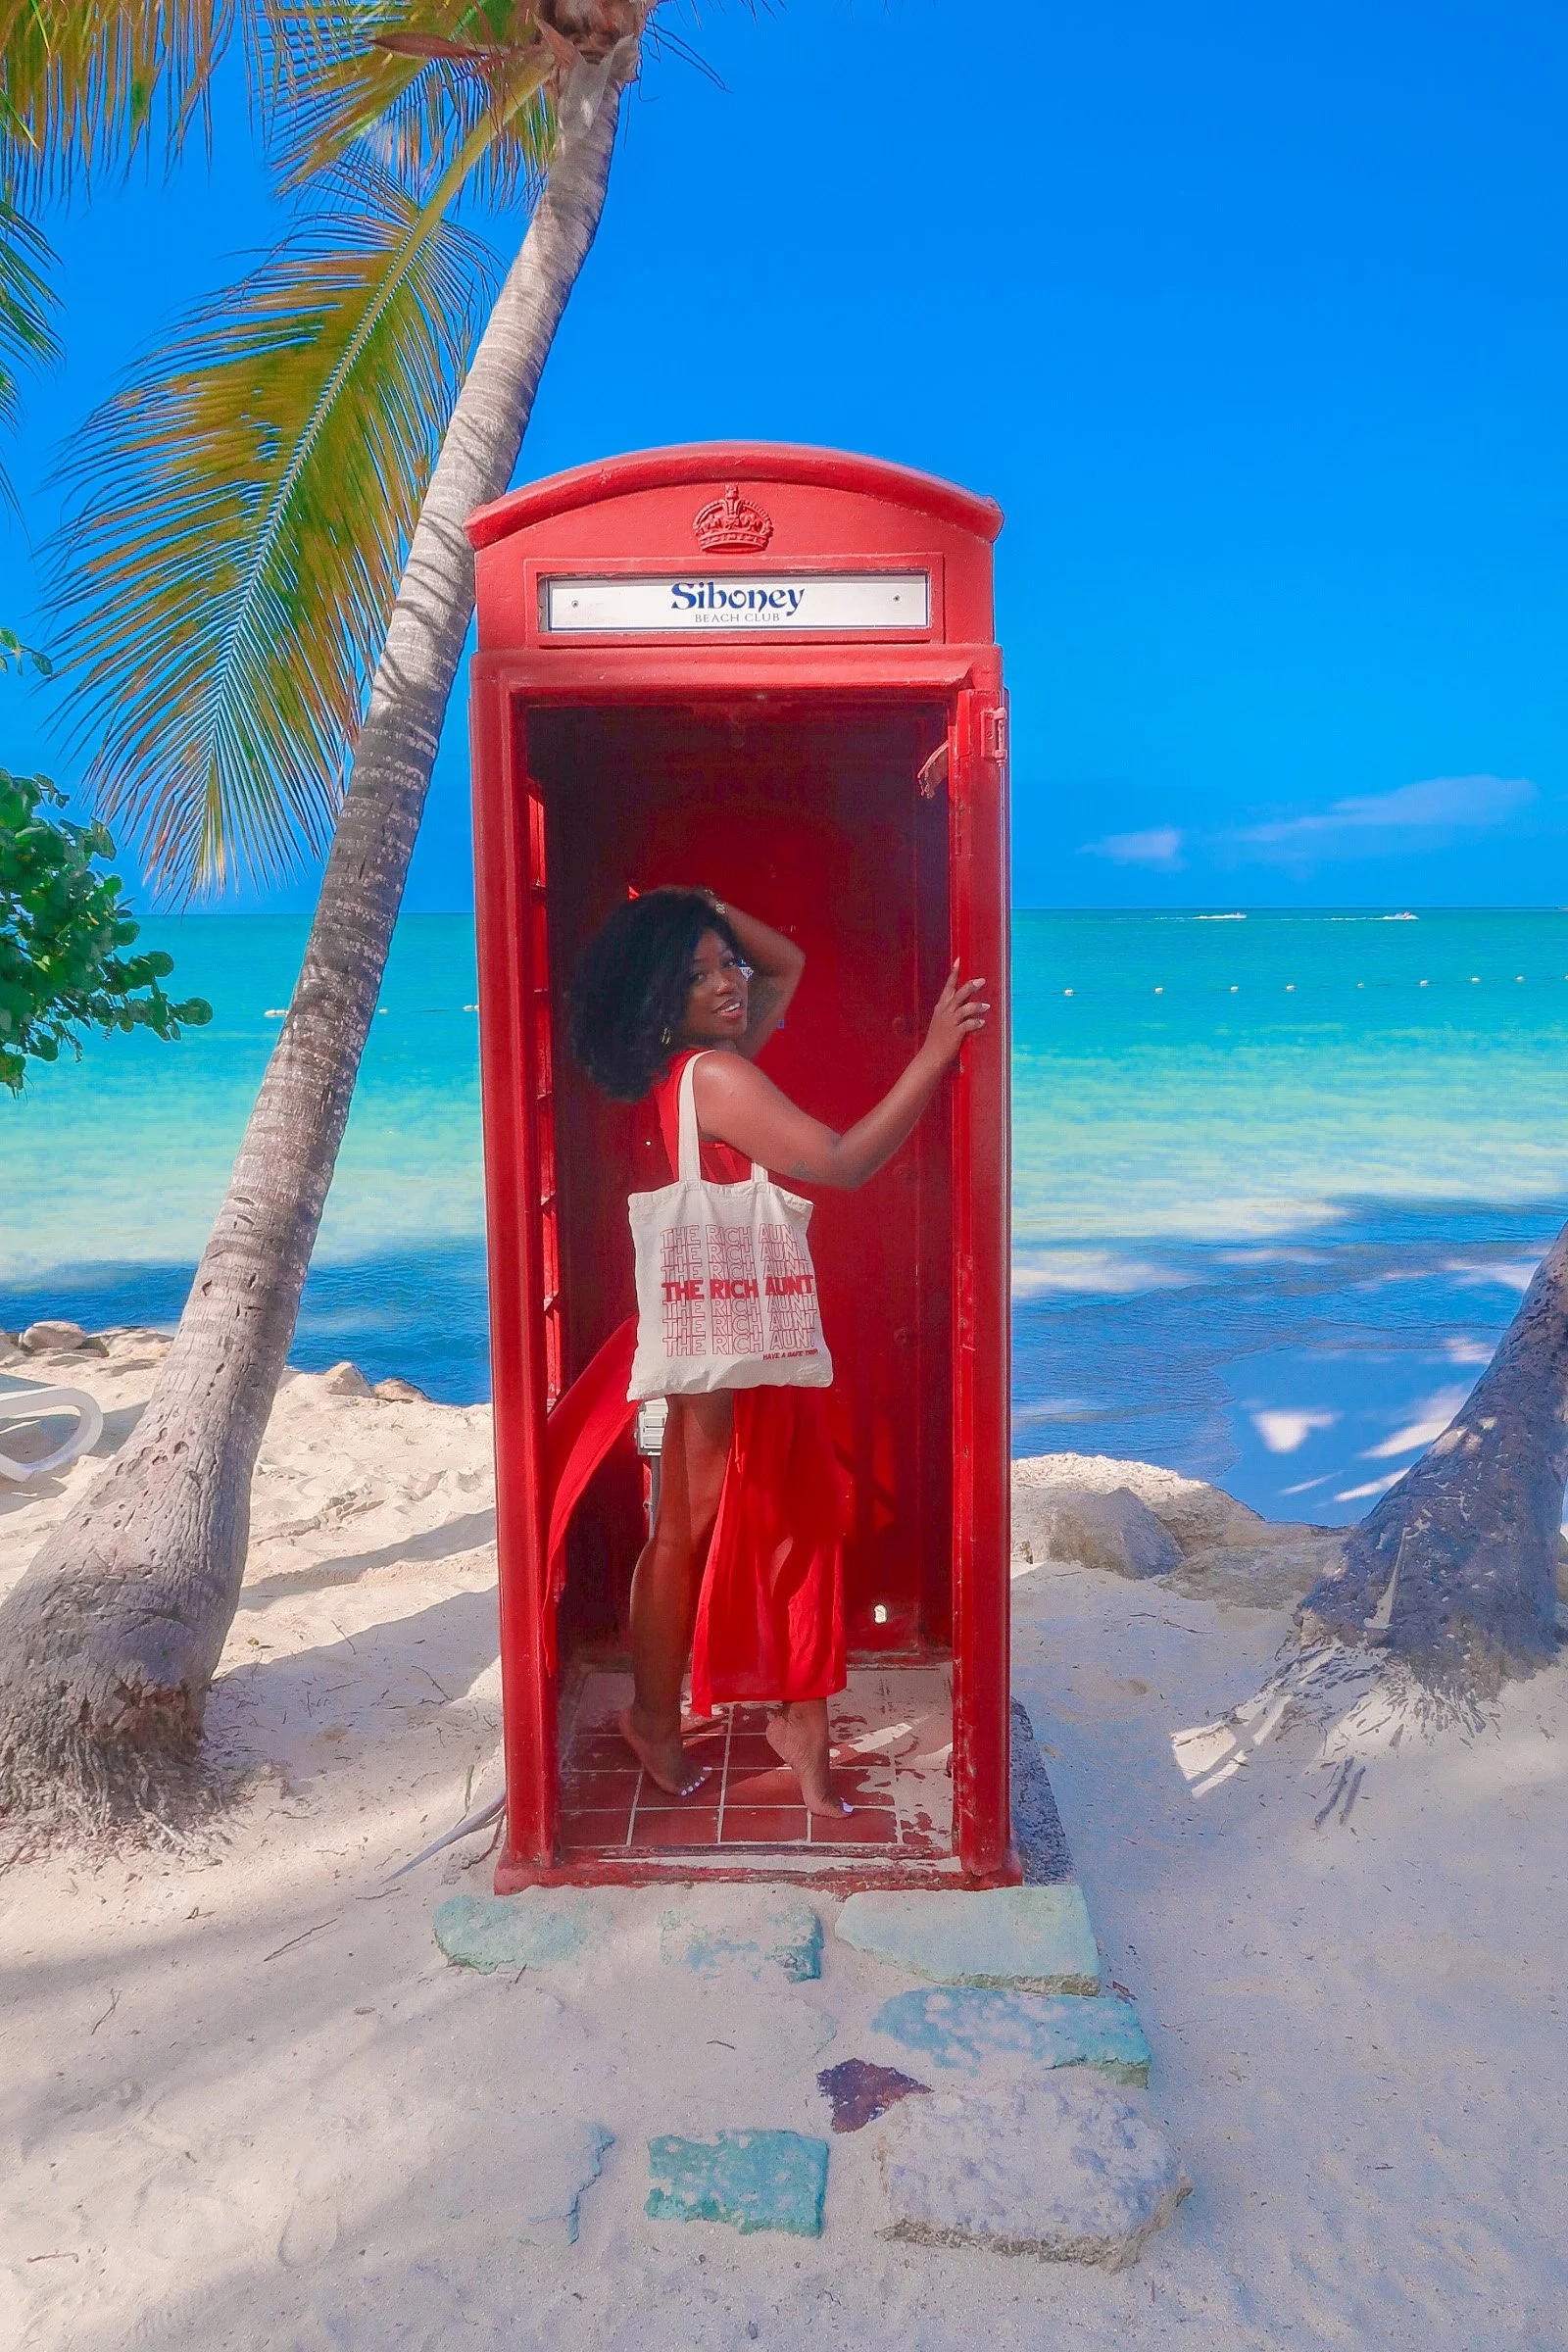
Backdrop
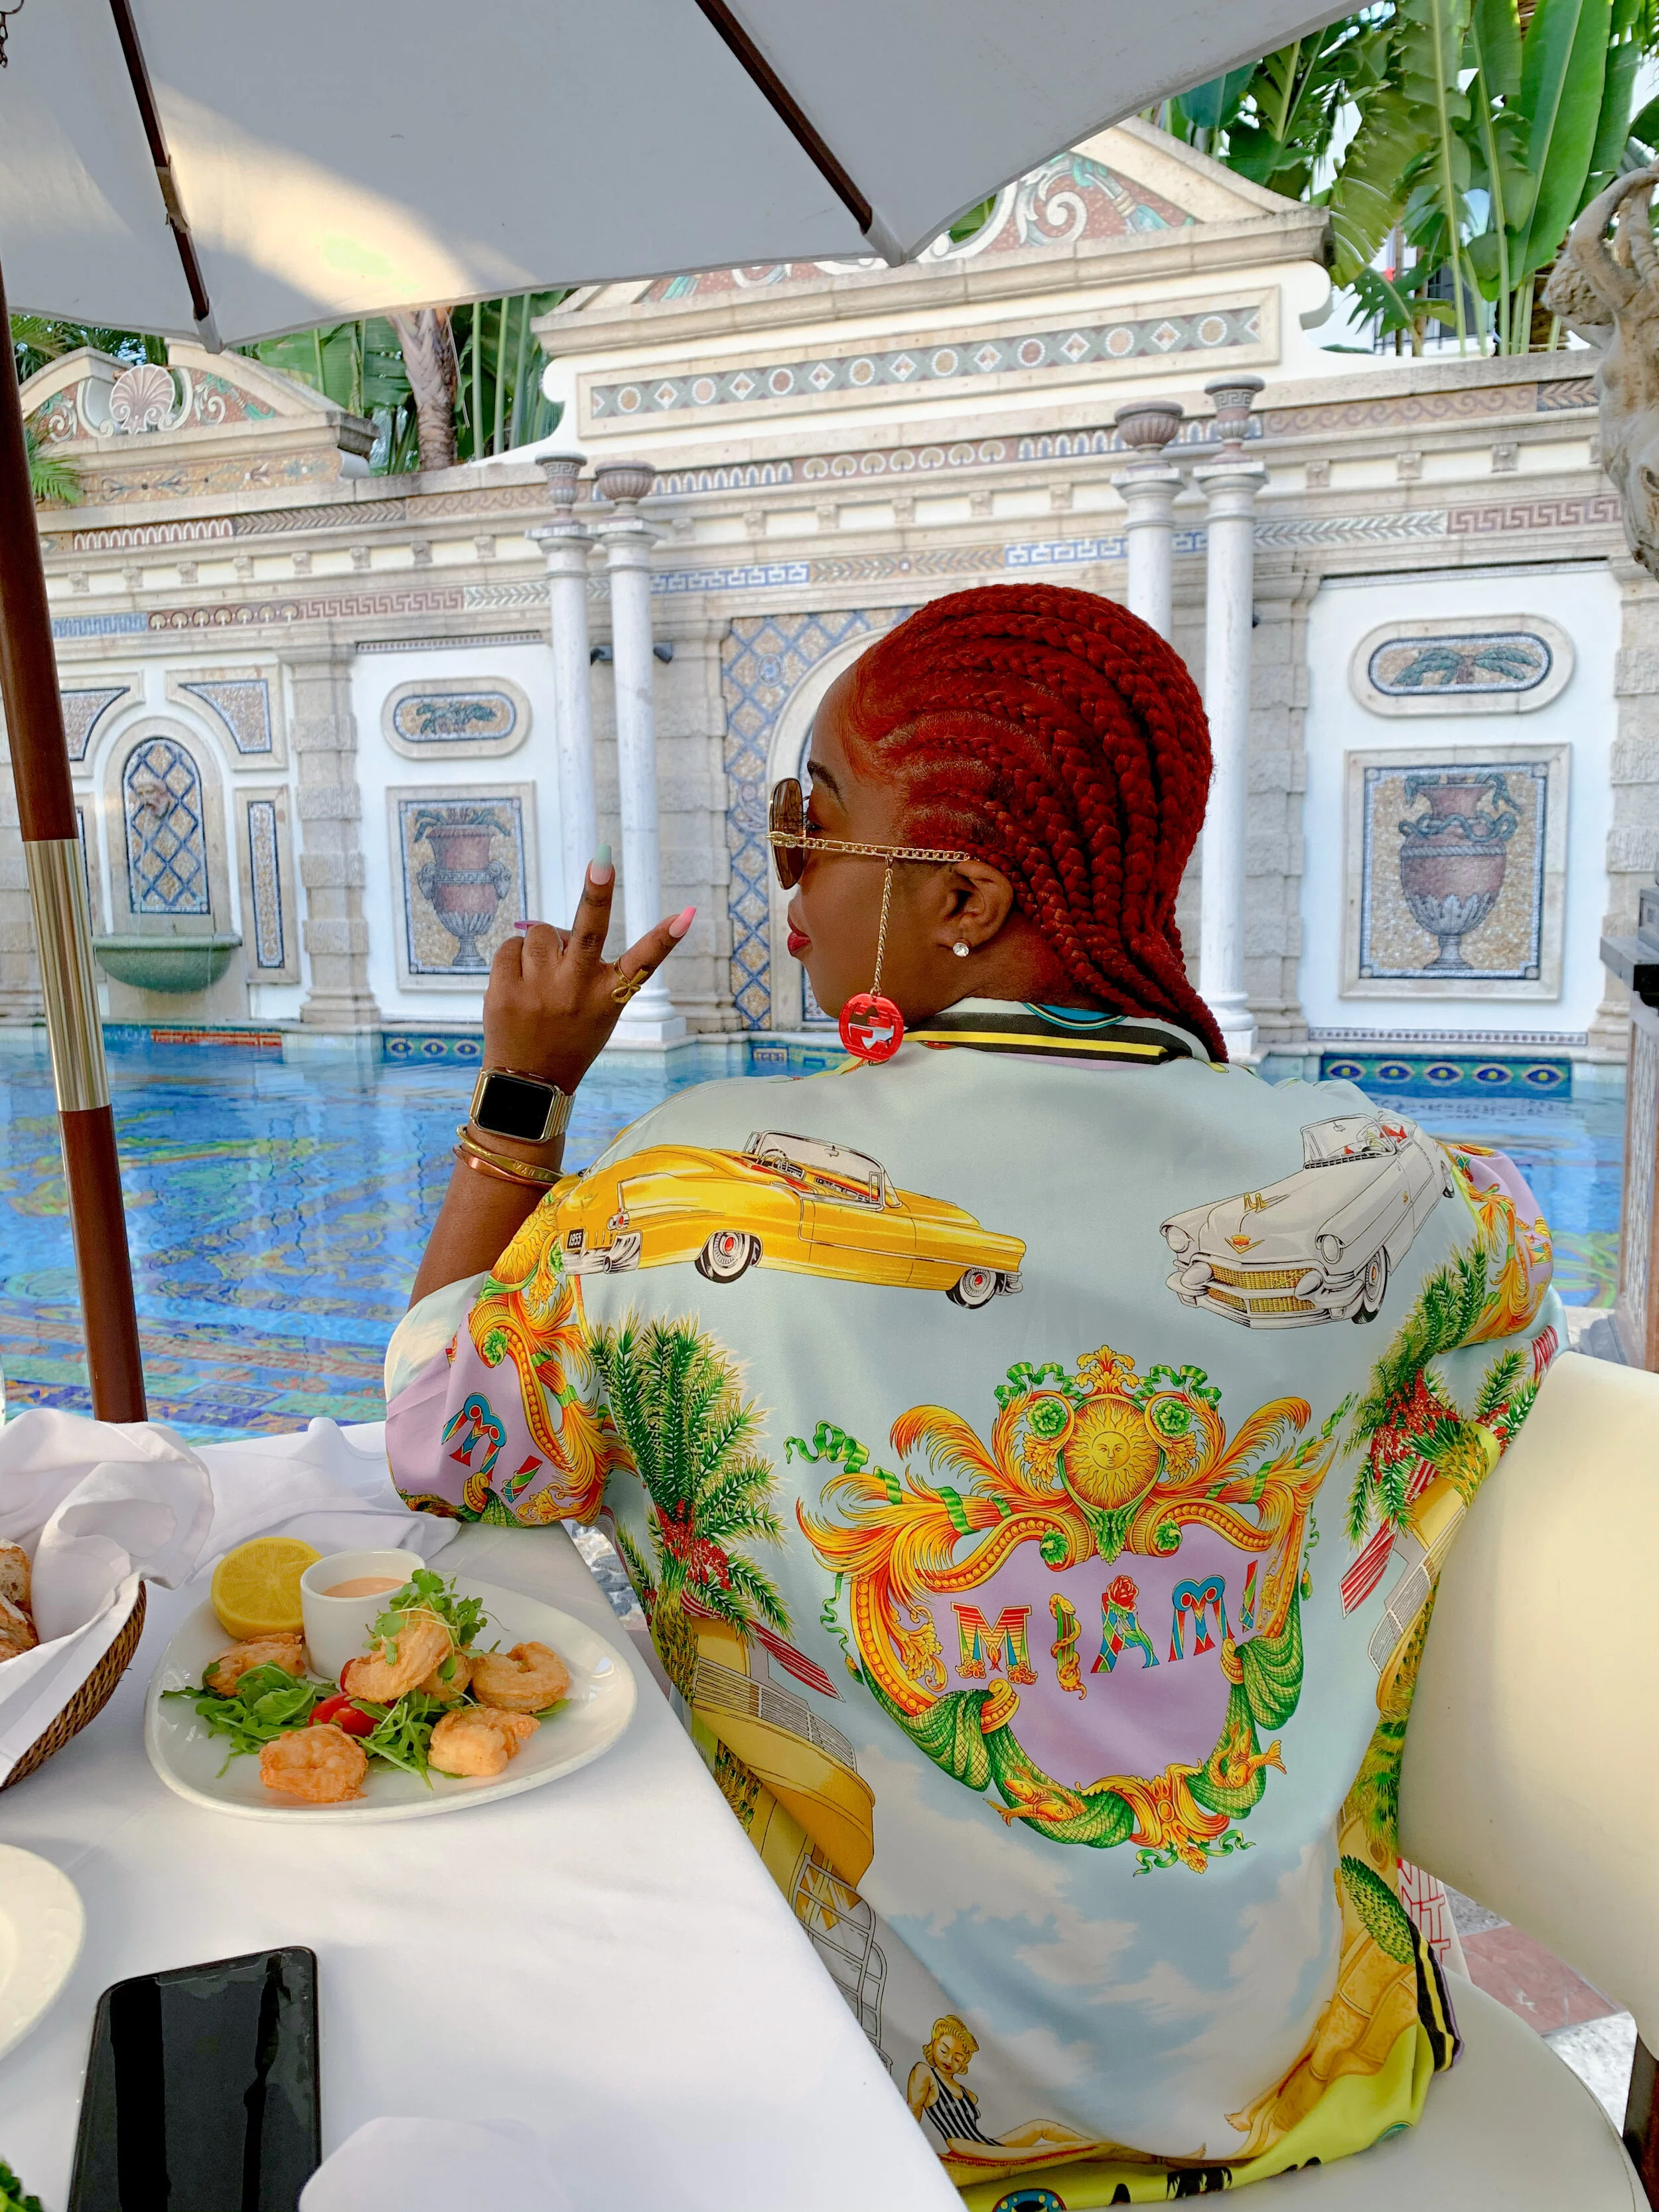
A background can truly bring a new life to a photo. Just visualize with me…a beautiful golden yellow dress, posing next to an endless flower field, opposed to posing next to a grey concrete wall. Choose a backdrop that coincides with your attire and the aesthetic you are trying to convey. If you know where you’ll be photographing it is best to wear clothing that will complement and not clash with your location. If you “aReN’t iNtO fAsHiOn”, you can always opt for a solid color dress, or solid color anything for that matter.
What I loved about this picture was the wall and the chair, however, I did not want to sit directly against the wall. I opted to sit at an angle so that I am the focus but also I am not hiding the beauty of the wall.

lighting
Lighting is E-V-E-R-Y-T-H-I-N-G! Without good lighting, your picture can become complete trash that can not be corrected. My tip is to always take photos during the day to achieve that good natural lighting that adds spunk to your picture. I avoid taking pictures at night by all means. Have I ever taken a picture at night? Of course I have, I use my judgment on the quality of the picture to decide whether I will post it or not. I always look for a well-lit area and also use my external light to assist with lighting. I envy people with beautiful night photos, I personally just haven’t mastered it yet lol.
This beautiful treehouse in Nairobi, Kenya has a brown interior (duh, it’s a treehouse), so shooting during the day was. A. MUST!

camera
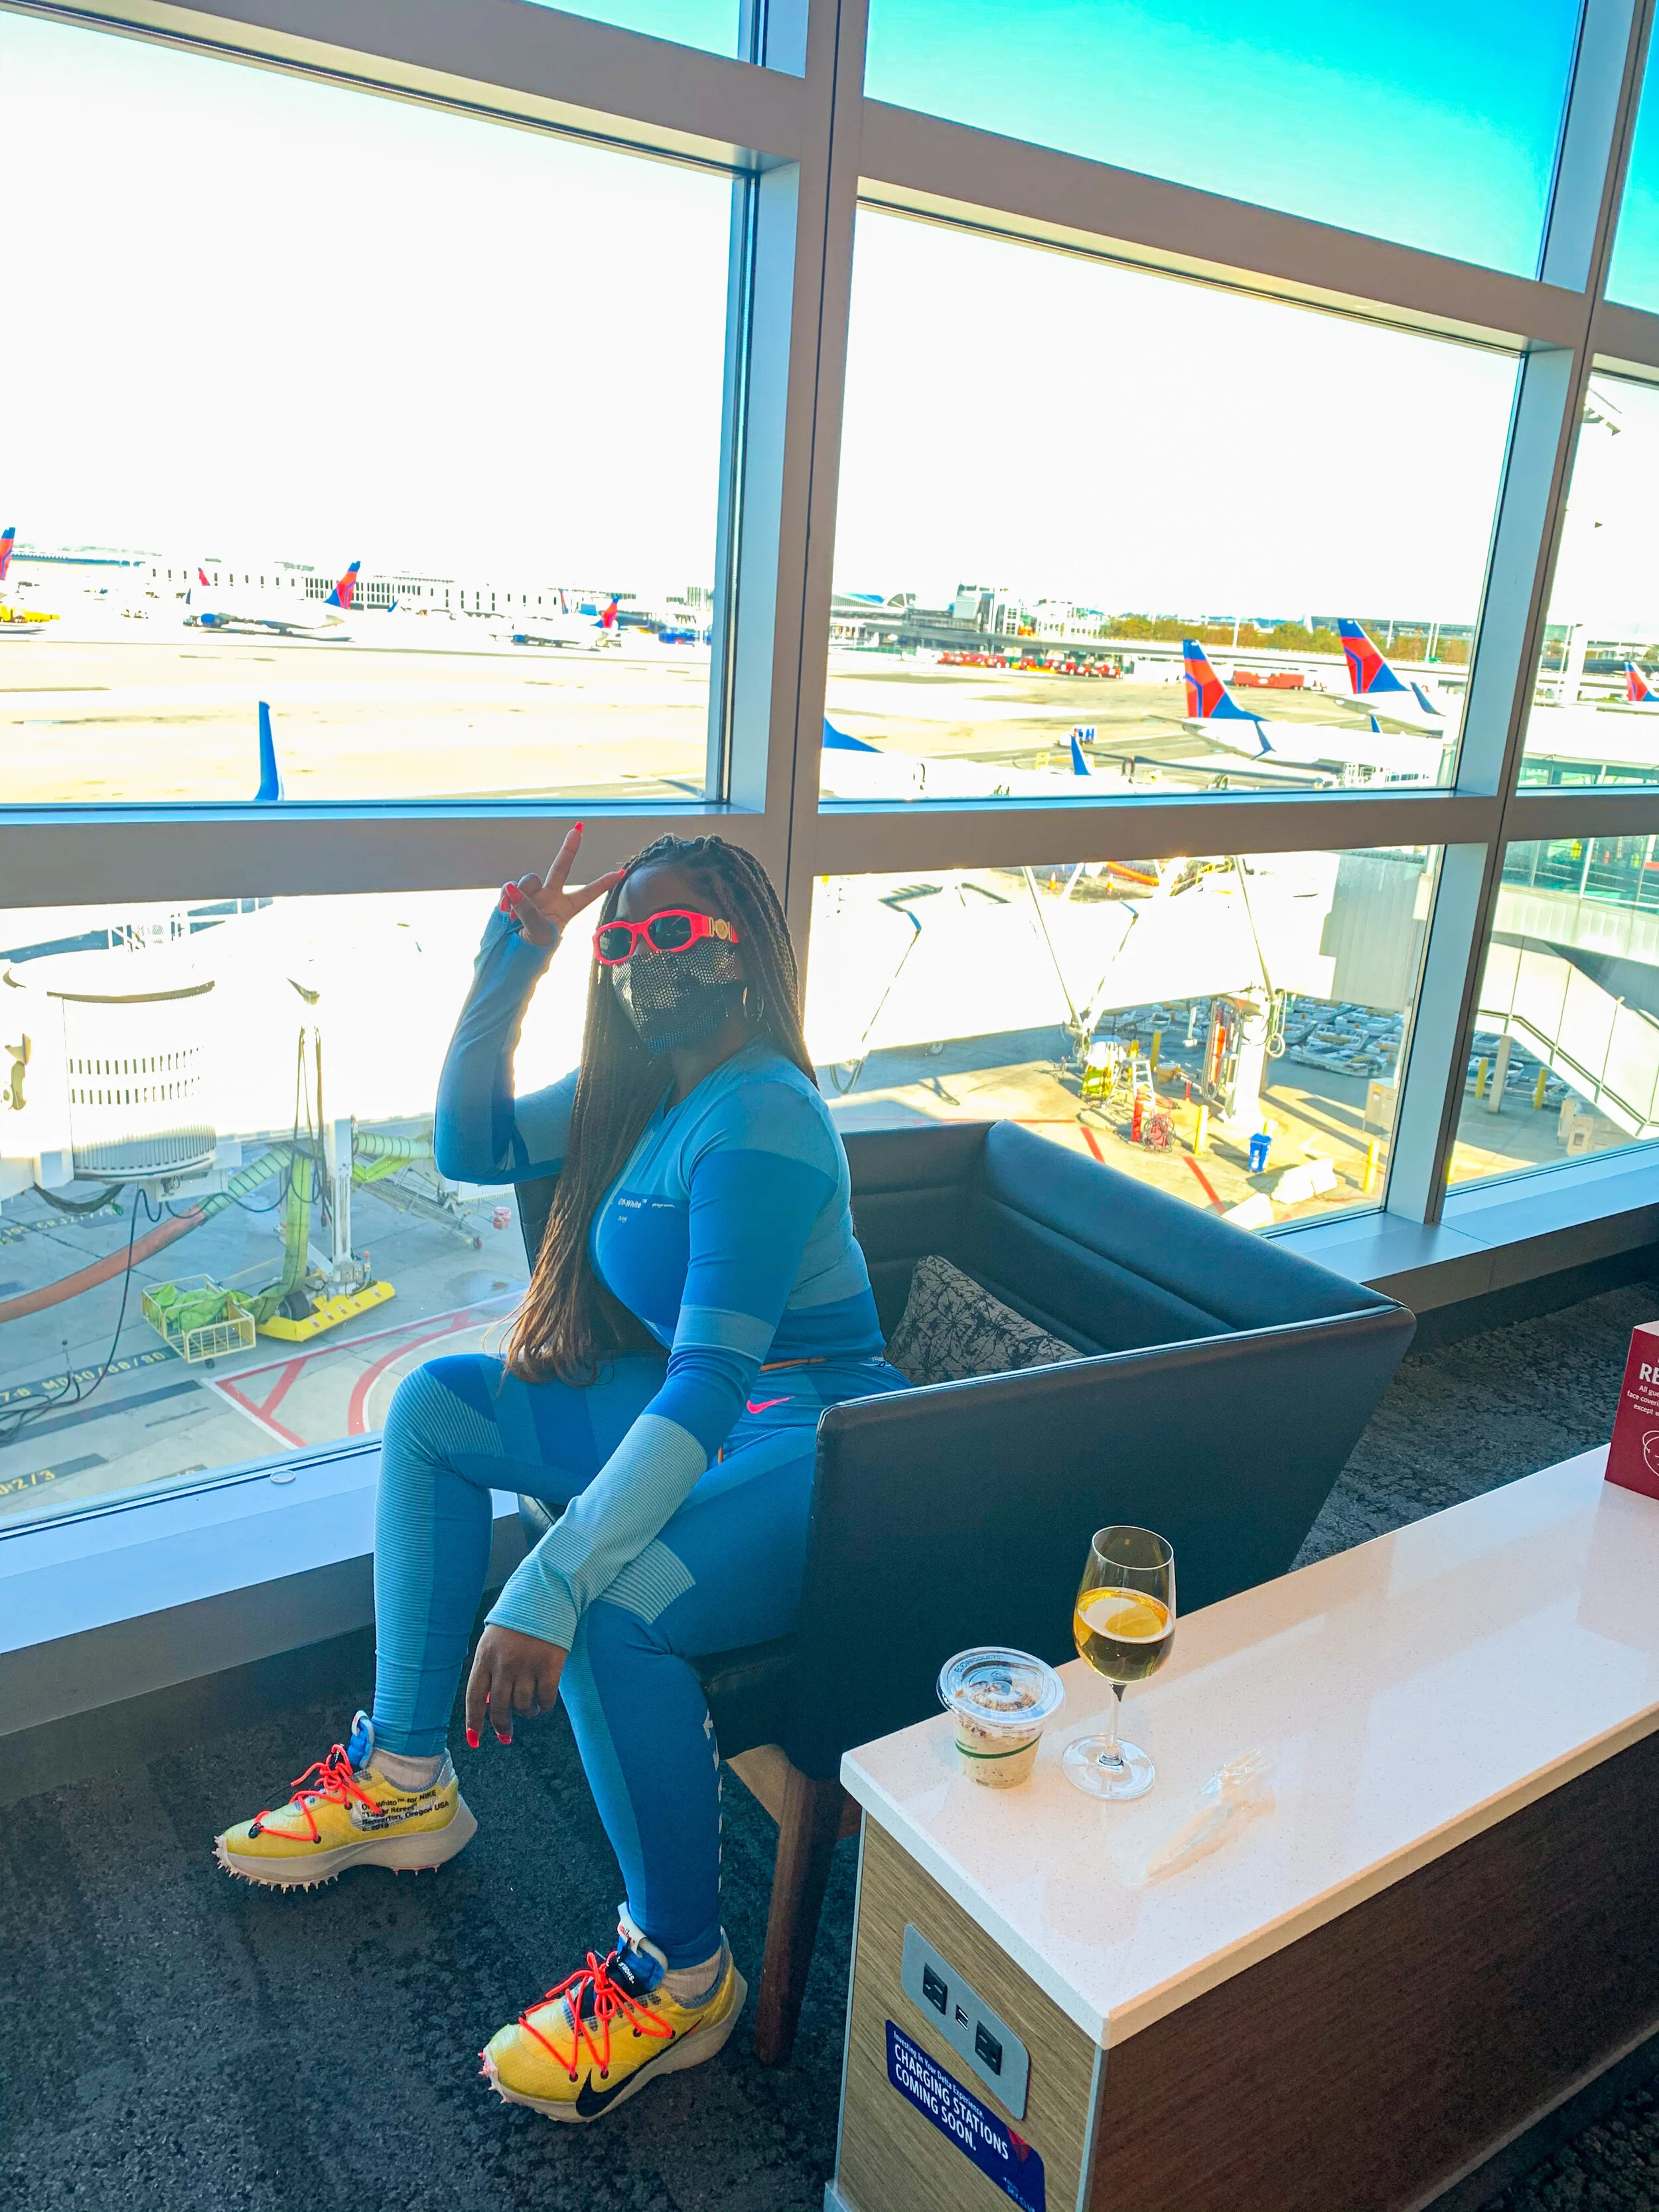
YOU DO NOT NEED AN EXPENSIVE CAMERA! Don’t be discouraged if you do not have a fancy camera, your camera is not as important as having an eye for tasteful pictures. I’ve seen exceptional pictures taken using an iPhone 7 and I have seen pictures taken with a DSLR that doesn’t even compare. The thing about some cameras is that people purchase them and do not know how to use them to their ability. With an iPhone, it is easy to auto focus and captures a great shot. Portrait mode makes everyone feel as if they’re a famous photographer like Helmut Newton.
Where the photo is being published and what is being used for does play a part in what kind of camera you would use. Phone cameras are just not as powerful as professional ones. If you are posting on Instagram and other mobile apps your phone should suffice for now. If you do plan to take your photography seriously, I do recommend saving and investing in a real camera. The camera’s that I use are my iPhone XS Max, my Canon g7x Mark II (also used for vlogging), and my Nikon D3300 (that I hate because, with all the tutorials I have taken, pics still come out looking like sh*t).
As you can see, with the right edits, an iPhone pic can be A1.

Editing/ Apps #NoFilter
Remember those days of #nofilter, when everyone was proud to say that their pictures are completely untouched? Well chile, those days are long behind us. Editing a photo is what makes it visually pleasing, even the most perfect photos can use a minor tweak. I like to keep my photos close to the original. I really dislike when people create a whole new picture with extra edits and props that do not exist -_-. The picture is a complete lie. I treat edits like makeup, not surgery, to enhance and not recreate.
I was disappointed when I went to Menton, France in hopes of seeing a beautiful vibrant monochromatic yellow community only to learn that it did not exist. Some of the pictures online were so heavily edited, I couldn’t believe that people went to that extent for the “perfect picture”. Some pictures turned the greens and pinks into yellow as well.

UNEDITED
My go to apps are Adobe Lightroom & Facetune. Other apps that are good and that I would recommend are VSCO & Snapseed. I do not believe in app hoarding (any kind of hoarding for that matter) so I find what I like/what works for me and stick to them.
FaceTune2: This app is free for the most part (there is also a paid version with better specs I must say). This is good for selfies where you can enhance and retouch, especially your skin if you want to conceal any imperfections, as well as making your makeup pop. My favorite feature is removing things like a candy wrapper on the floor (for example) with the patch tool.
Adobe Lightroom: My personal fave and go to. What I love is that there are many tutorials to get your edit game up. I do not use any presets, but you can save custom edits to give your feed one cohesive look. This app is how I achieved the look below.
VSCO: VSCO has a lot of dope pre-set filters that work wonders.
Snapseed: This is an all-around great app, it is great for retouching, editing, and adding filters.

AFTER EDIT
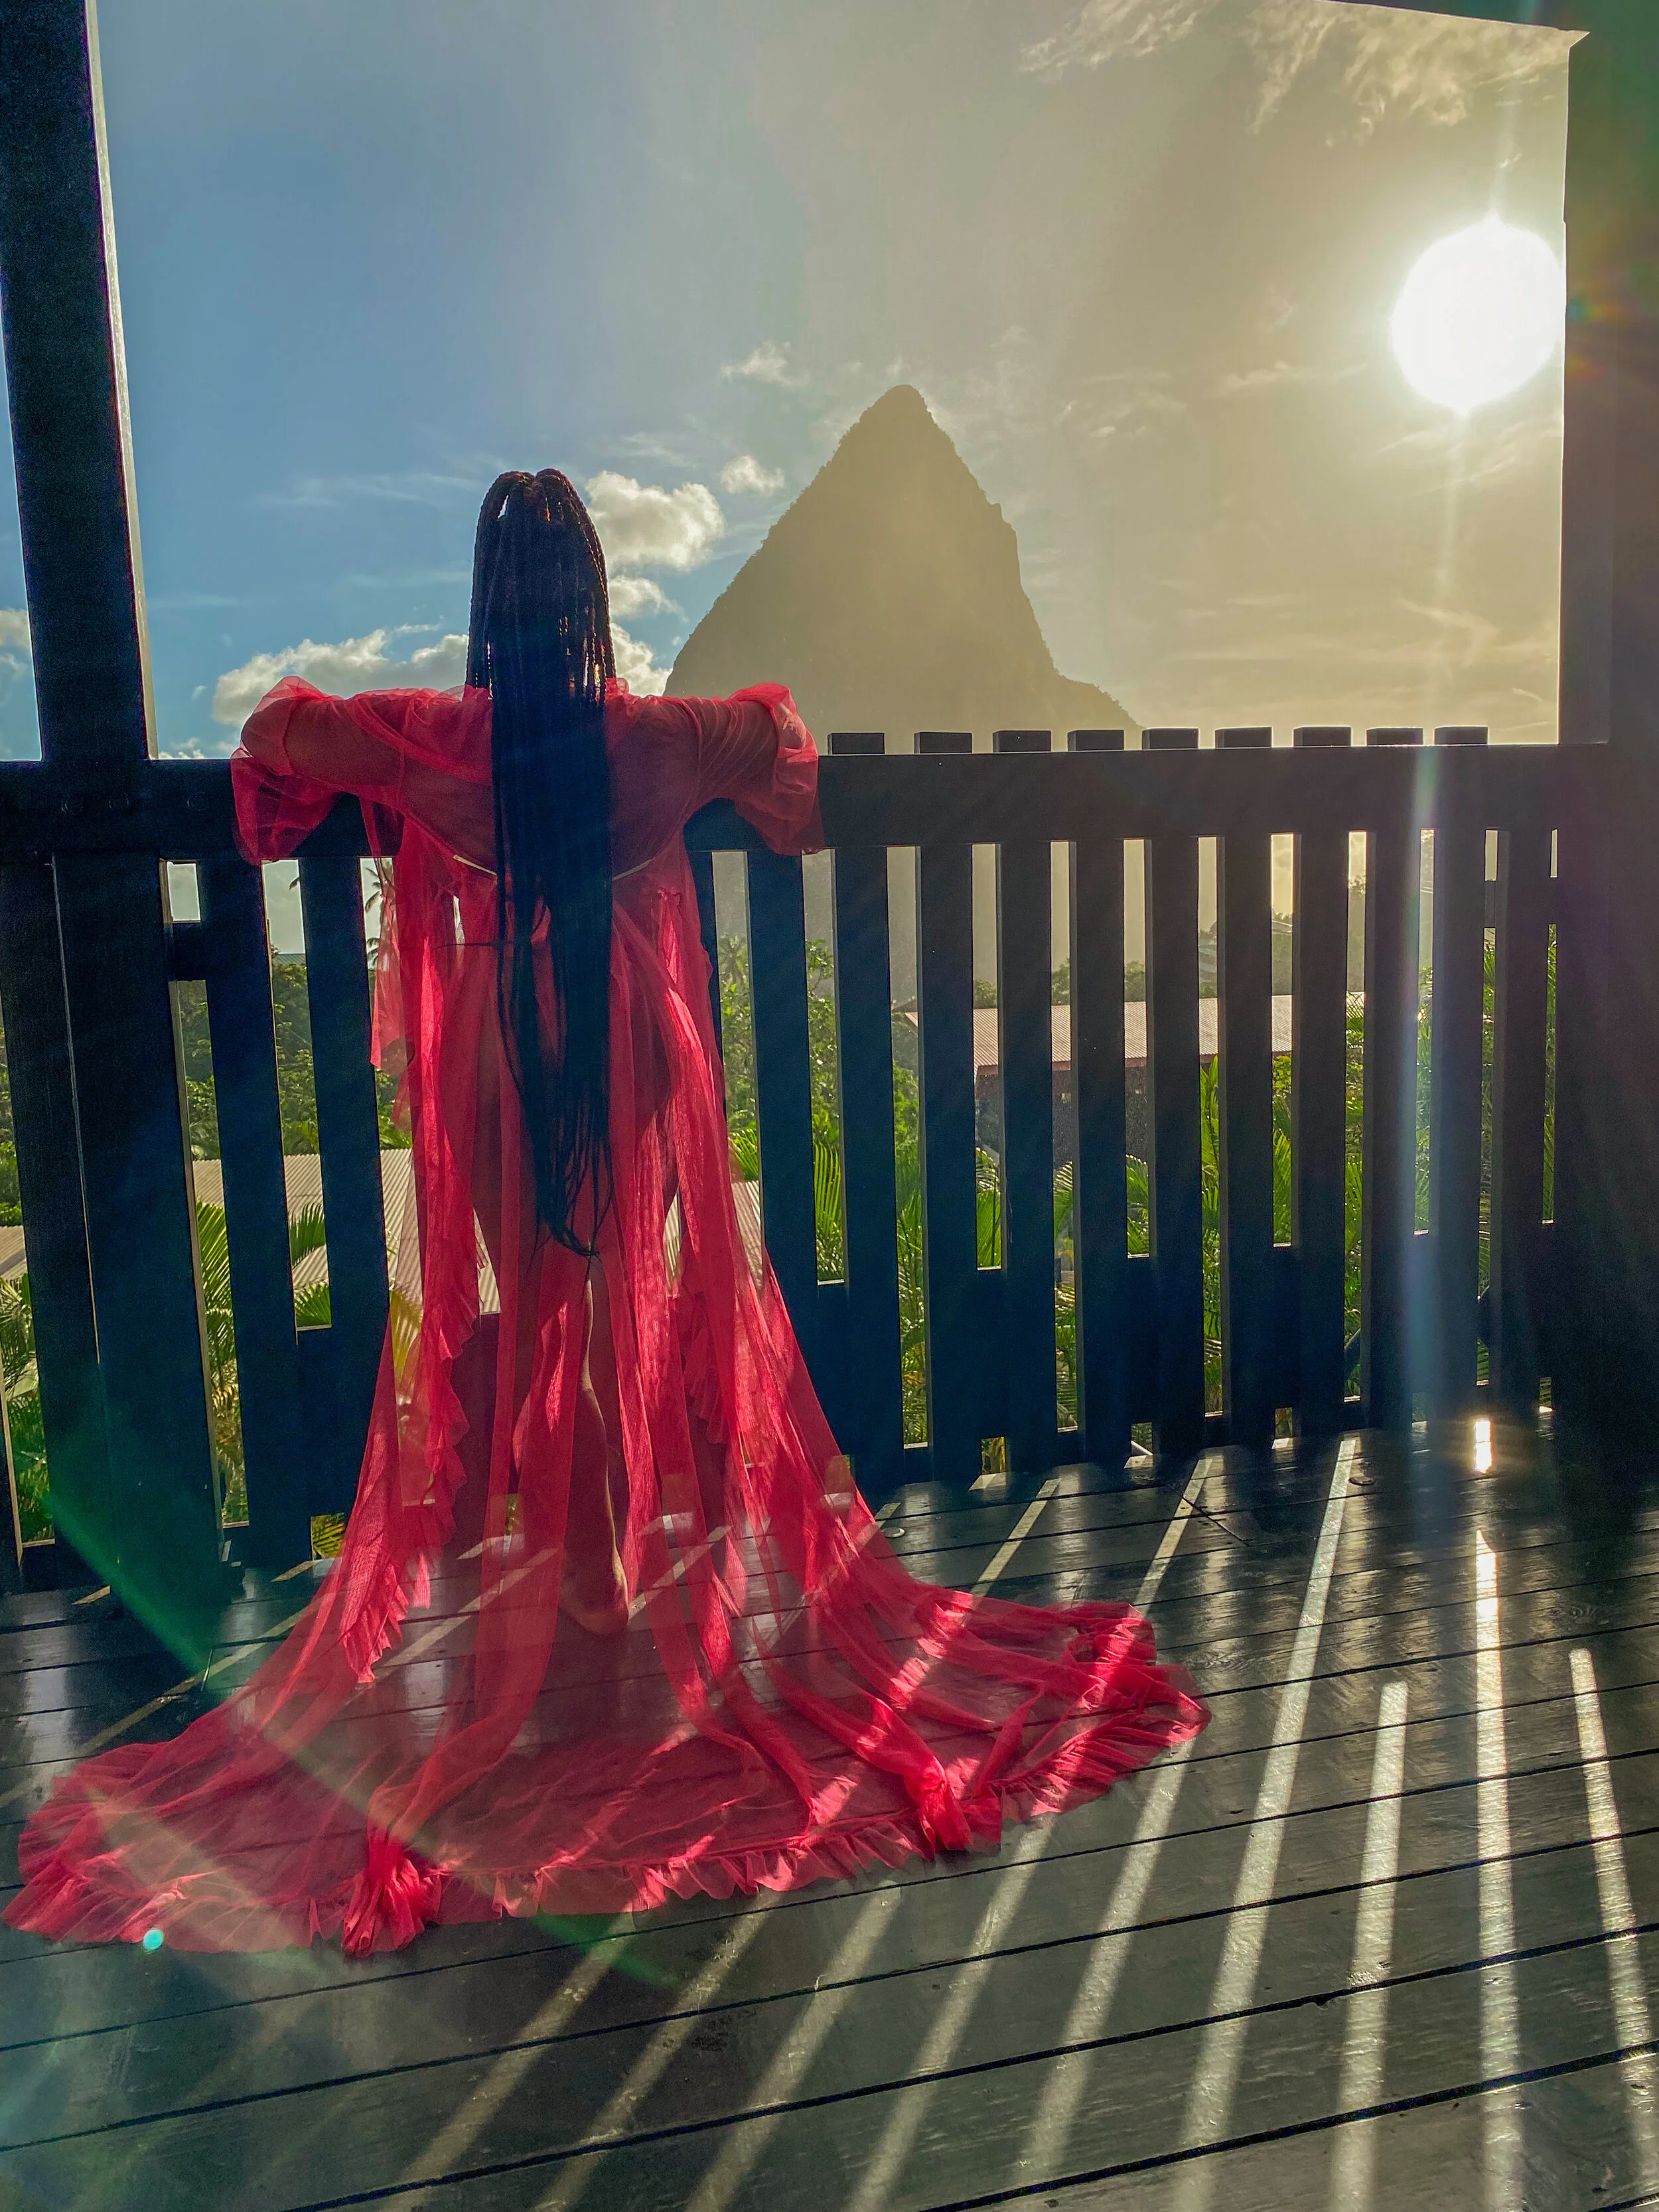
practice your angles/poses
Angles, angles, angles….
Whether it’s you, the picture, or your camera, angles are important. You do not want to tilt or slant your camera, that will interfere if you want to crop your photo. Decide on the subject and if it looks better centered or off-center. This is your creative moment and this is what sets people apart. Having that eye, and not necessarily what everyone else is doing.
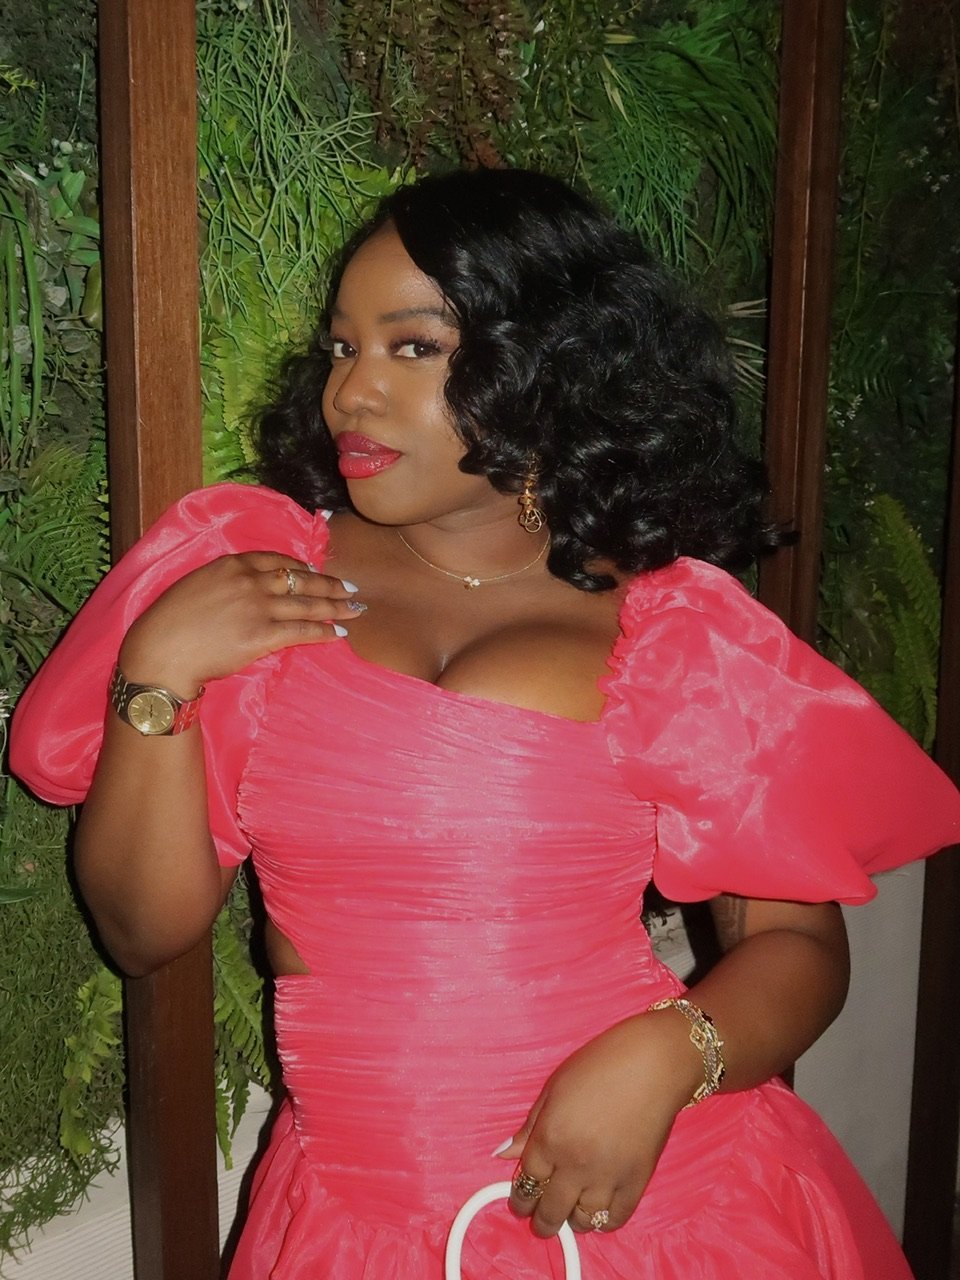
When it comes to you being the subject, I believe in practicing at home. Practice your stance, your face, and know your best angles. If you are wearing something like a dress show it off by holding it or giving it a twirl. If you have a split in your skirt, give a little leg action. When I can’t think of a pose or think I look awkward in a picture I just pose from the back and either walk away or hold on to an article of clothing.
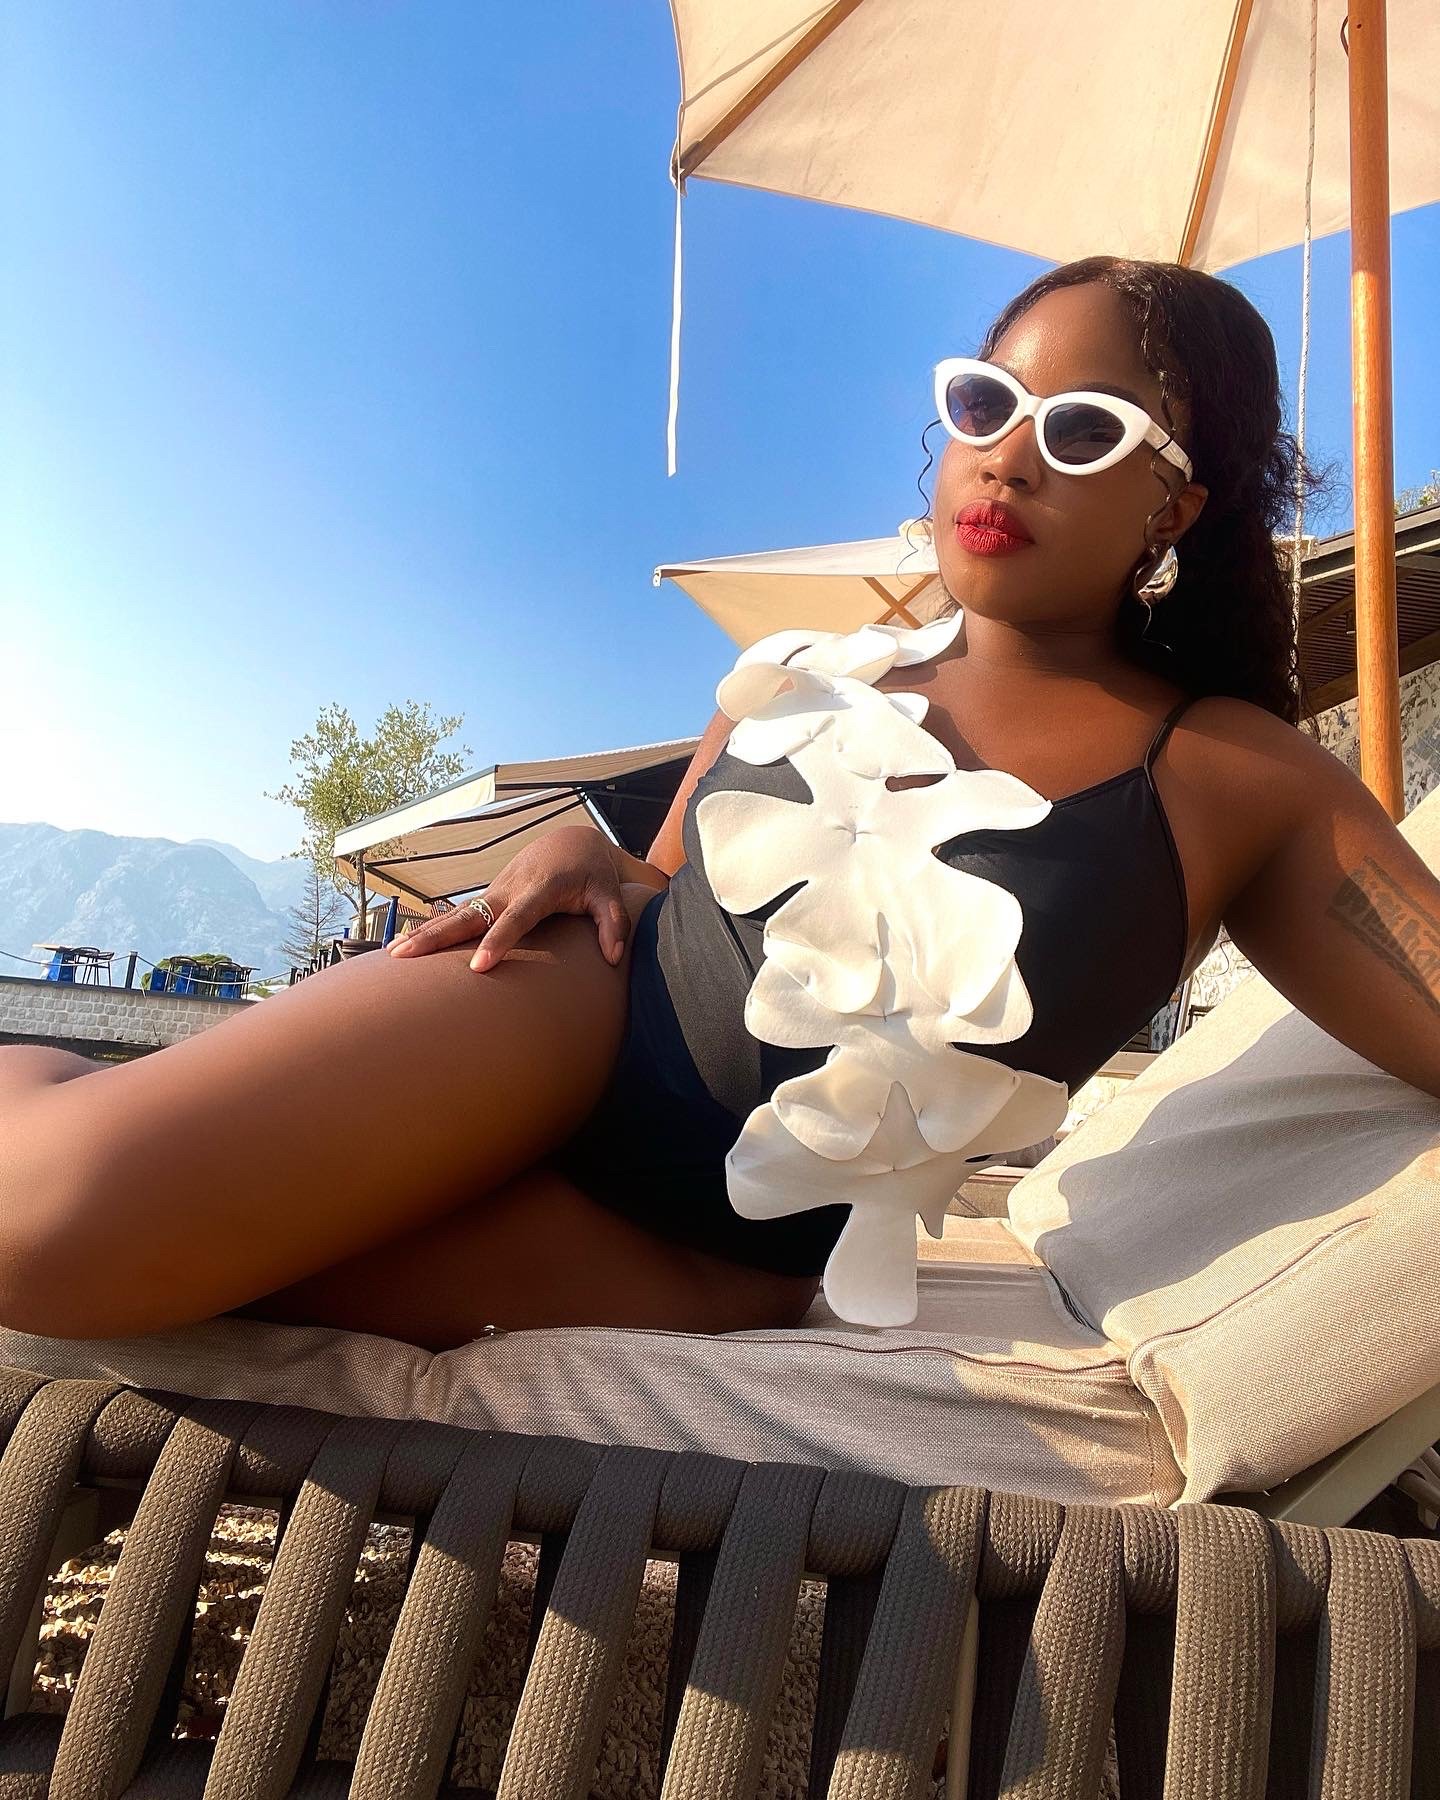
Example of being off-centered, showing off a skirt with a slit and elongating my short 5’2 frame…sort of =)

The Picture
Something to keep in mind: Are you capturing yourself or capturing the scenery?
When taking photos I shoot in both landscape and portrait. Landscape is good for my website especially when I want to make a header/banner. I do not like the way portrait headers look, they are just too long and take up too much space. Landscape is good for banners and thumbnails for YouTube.
Landscape

I use portrait mode for all Instagram and social media photos. It takes up more of the screen, allowing for someone to slow down when scrolling past your picture and take in the details. If it isn’t portrait then I would crop it (the reason why you should keep your camera straight when shooting) into portrait. Portrait is good for Instagram, Facebook, Pinterest, and TikTok.
Not only do I take the way the camera is held into consideration, but I also crop when necessary. If there are extra people, space, or anything that’s lingering on the sides, I’ll crop them out. It sucks when you’re unable to crop people out.
Tip: If there are people, try to block them with your body, by standing in front of them.
Portrait

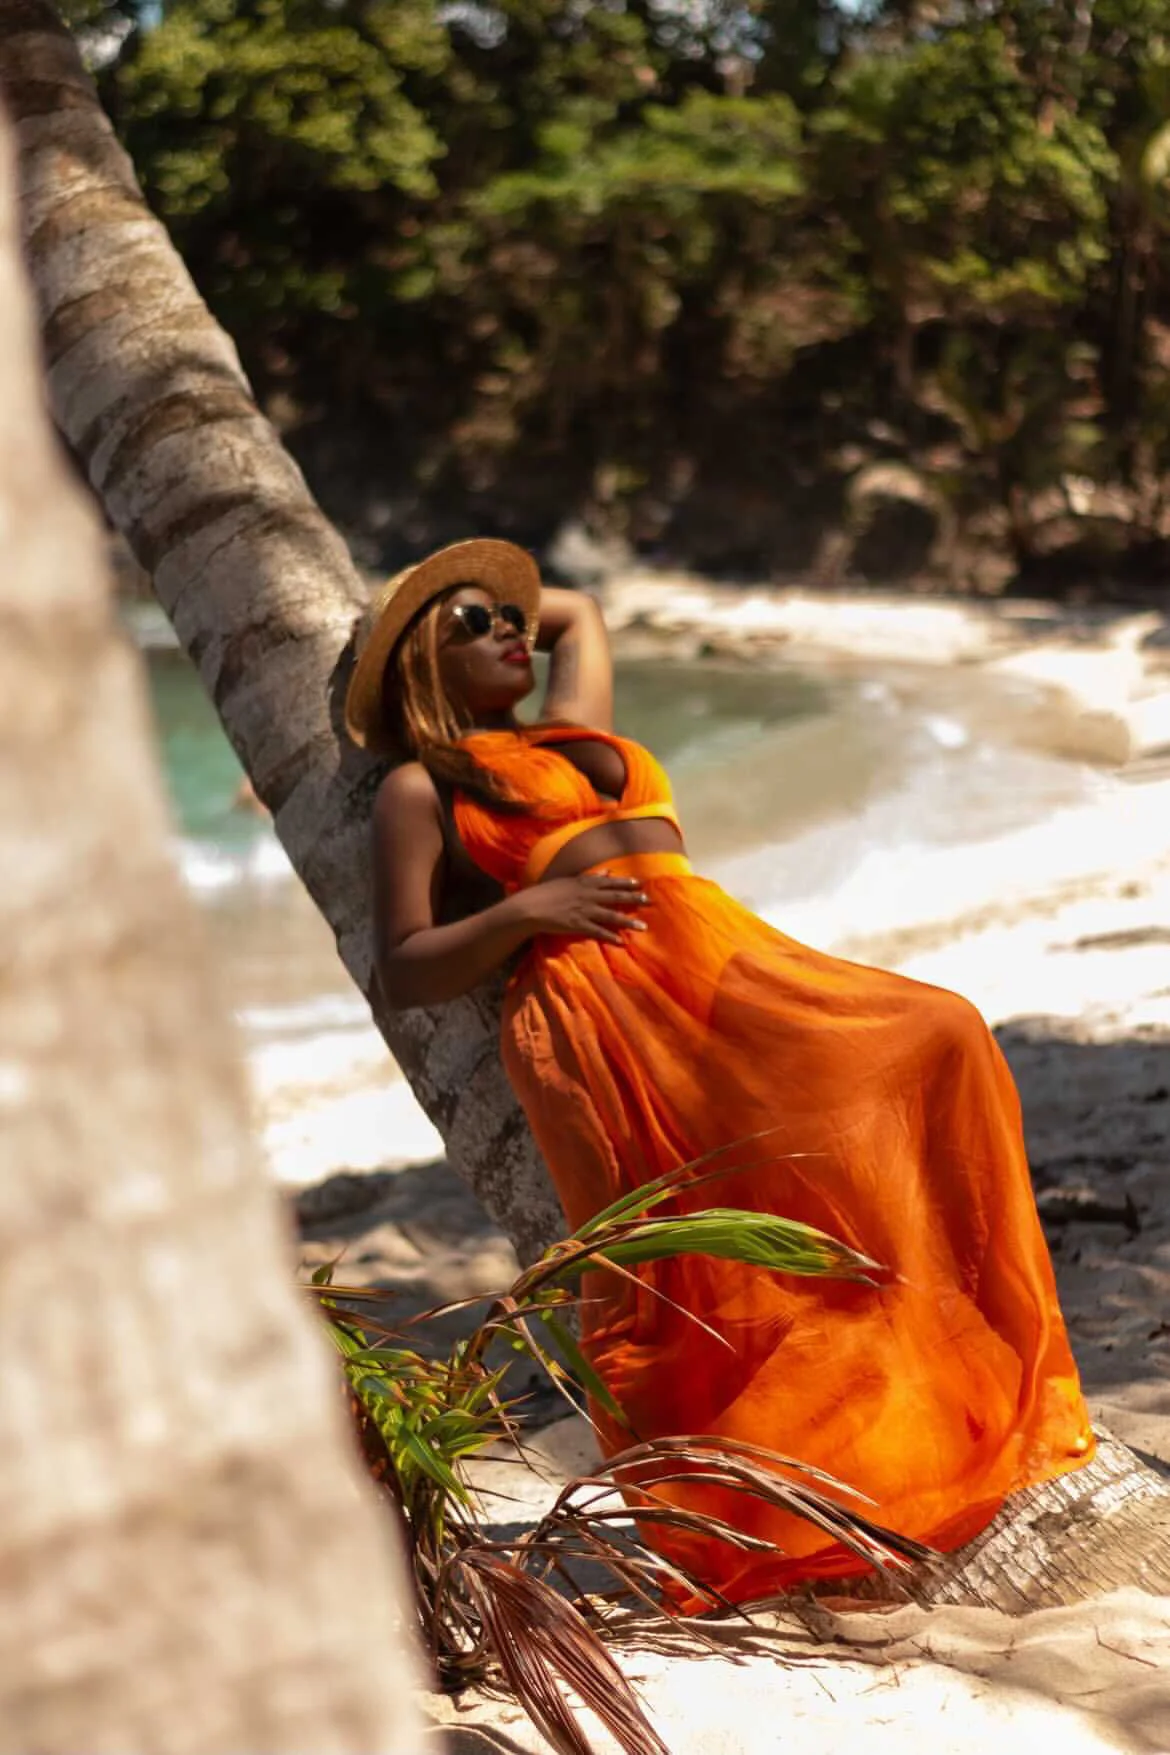
Less Is More
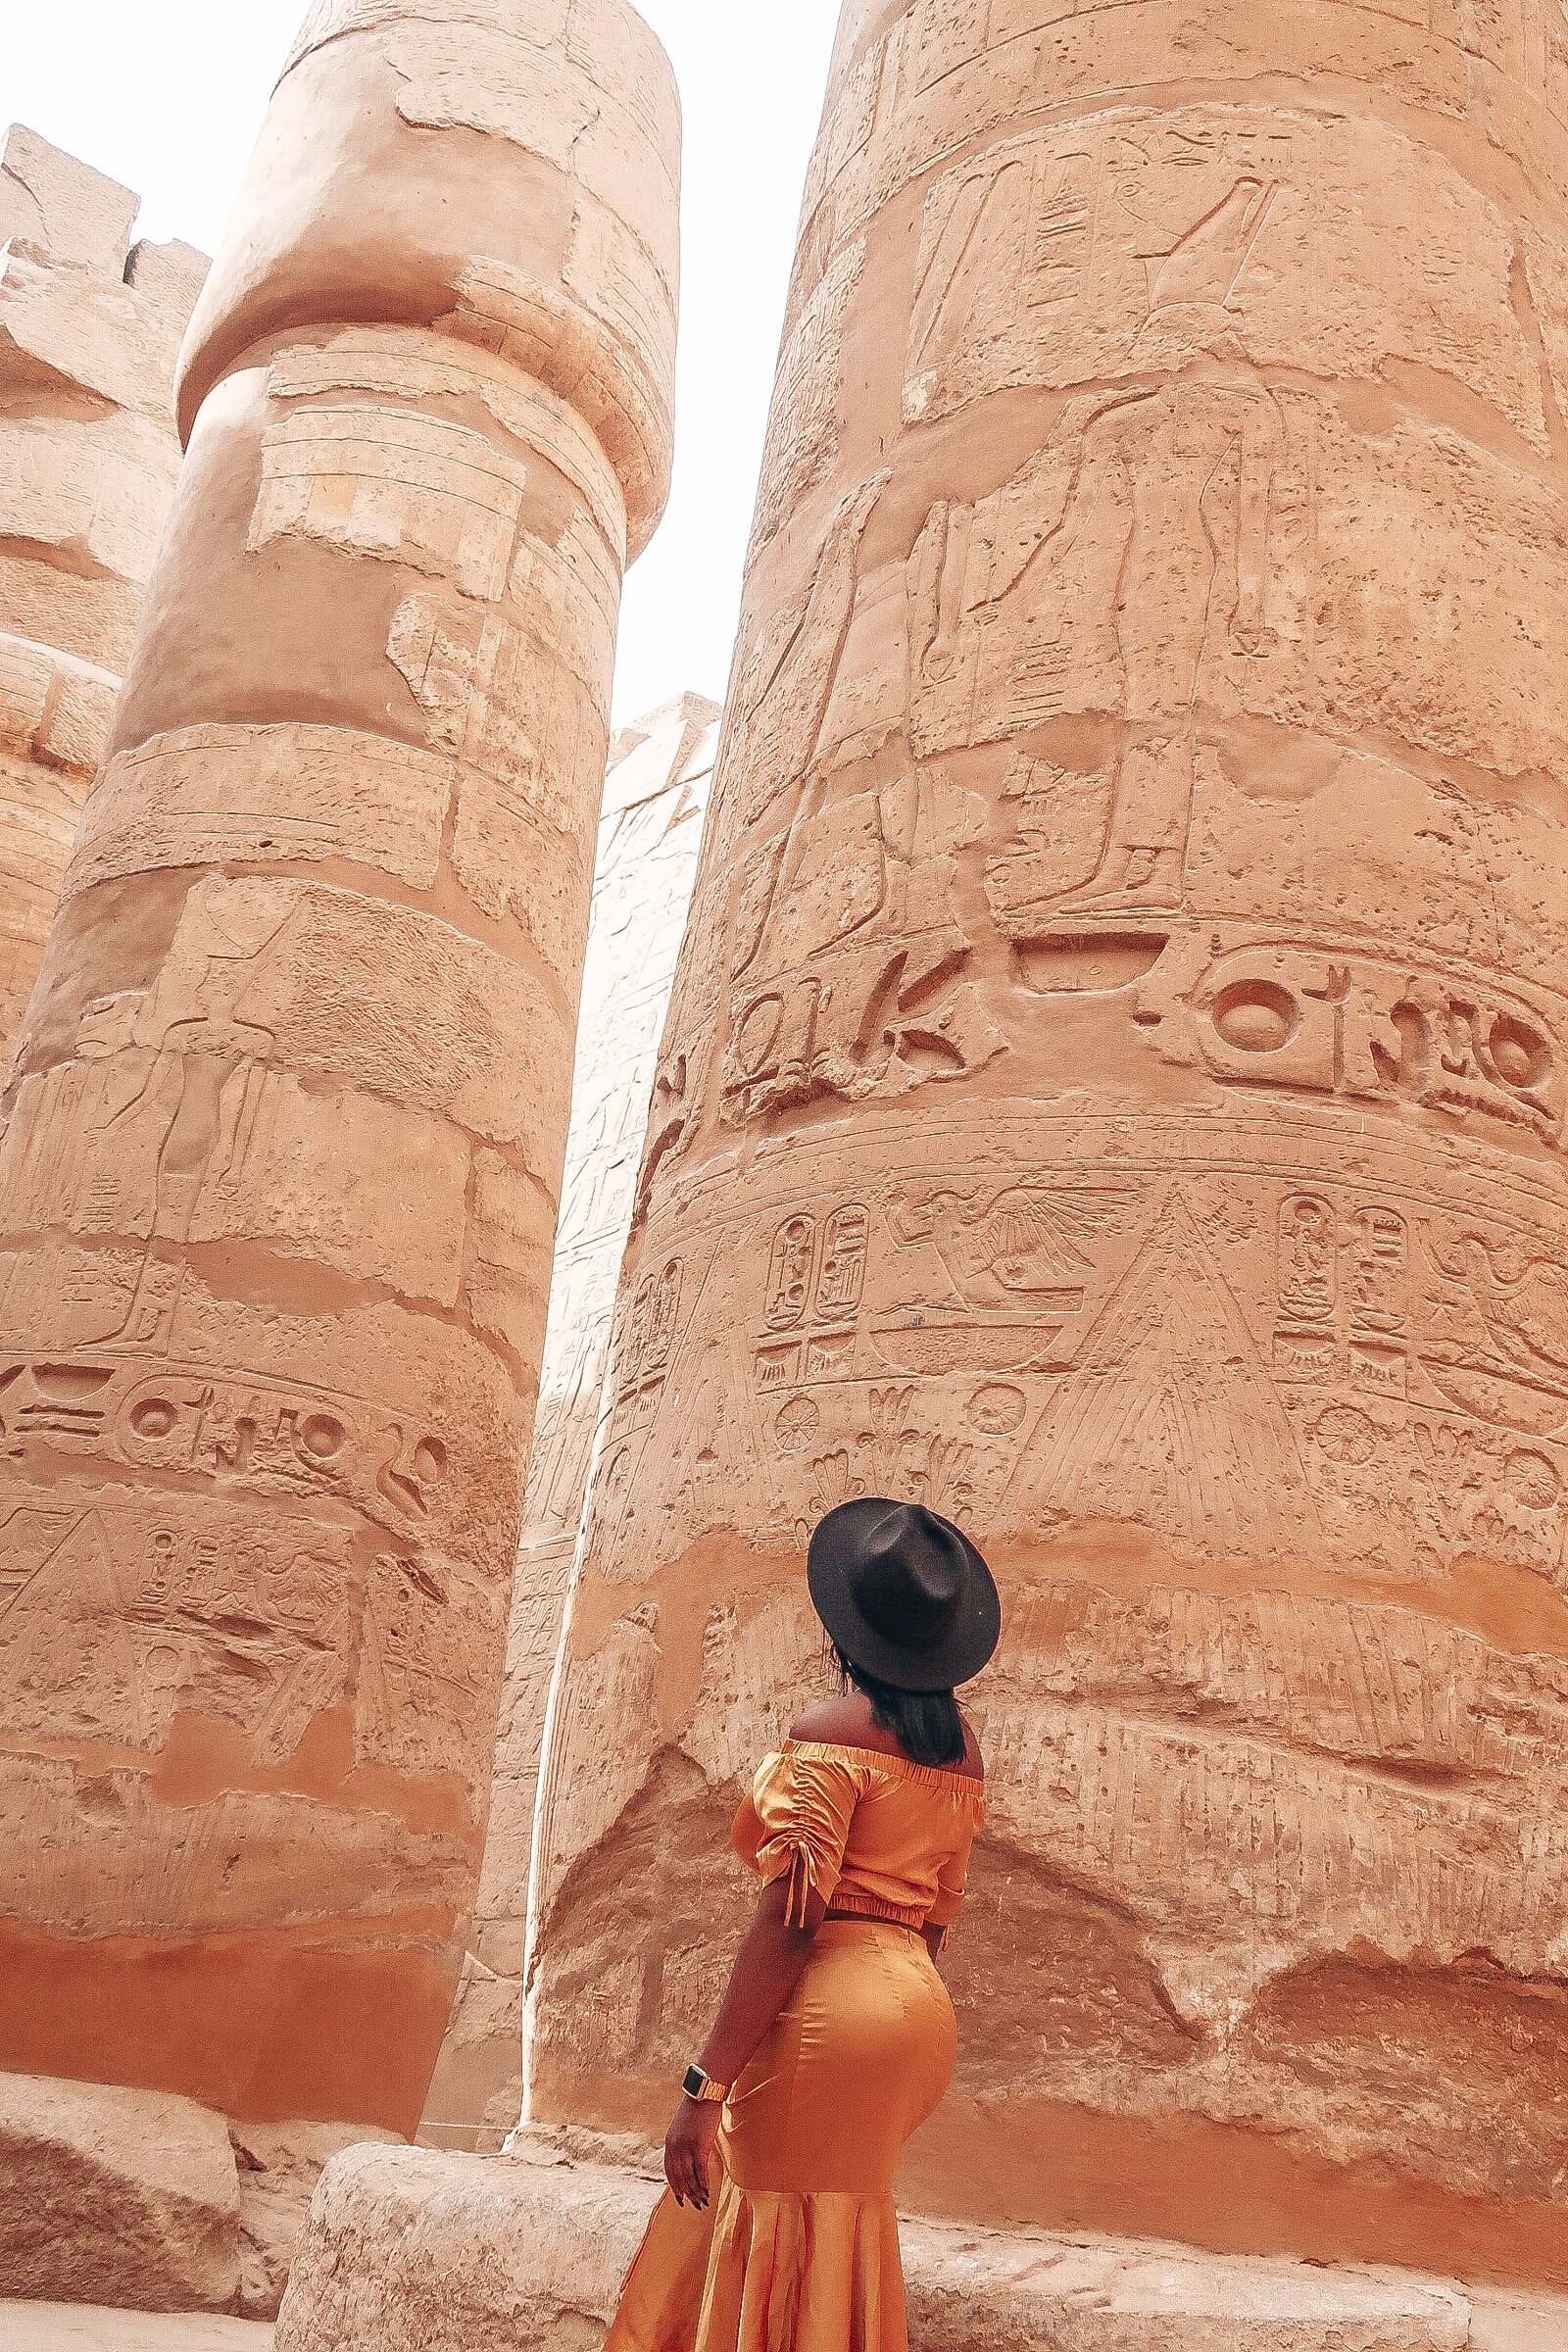
The saying “less is more” applies to more life situations than you think. When it comes to photos I prefer to keep it simple. I think simple, keep it natural, and not forced is best. I do not like forced looking visuals even if it makes for more “likes”. I like to remain myself and be comfortable. I most of all try to avoid having people in pictures or cluttered backgrounds. I will wake up early just to avoid crowds. I do not overthink my photos and I make sure I do not spend all day shooting one frame. I give myself a limit to 10-20 frames because too many pictures equal too many options and make deciding harder.
During my time in Luxor Egypt, highlighting the architecture and foundations were my focal points, but I wanted to be in the pic, so I just stood there haha.
Have fun with taking pictures, that’s what it’s all about at the end of the day. I hope these tips have helped and share some your own below.
Pin Me!


Click buttons below to like and share on social media!